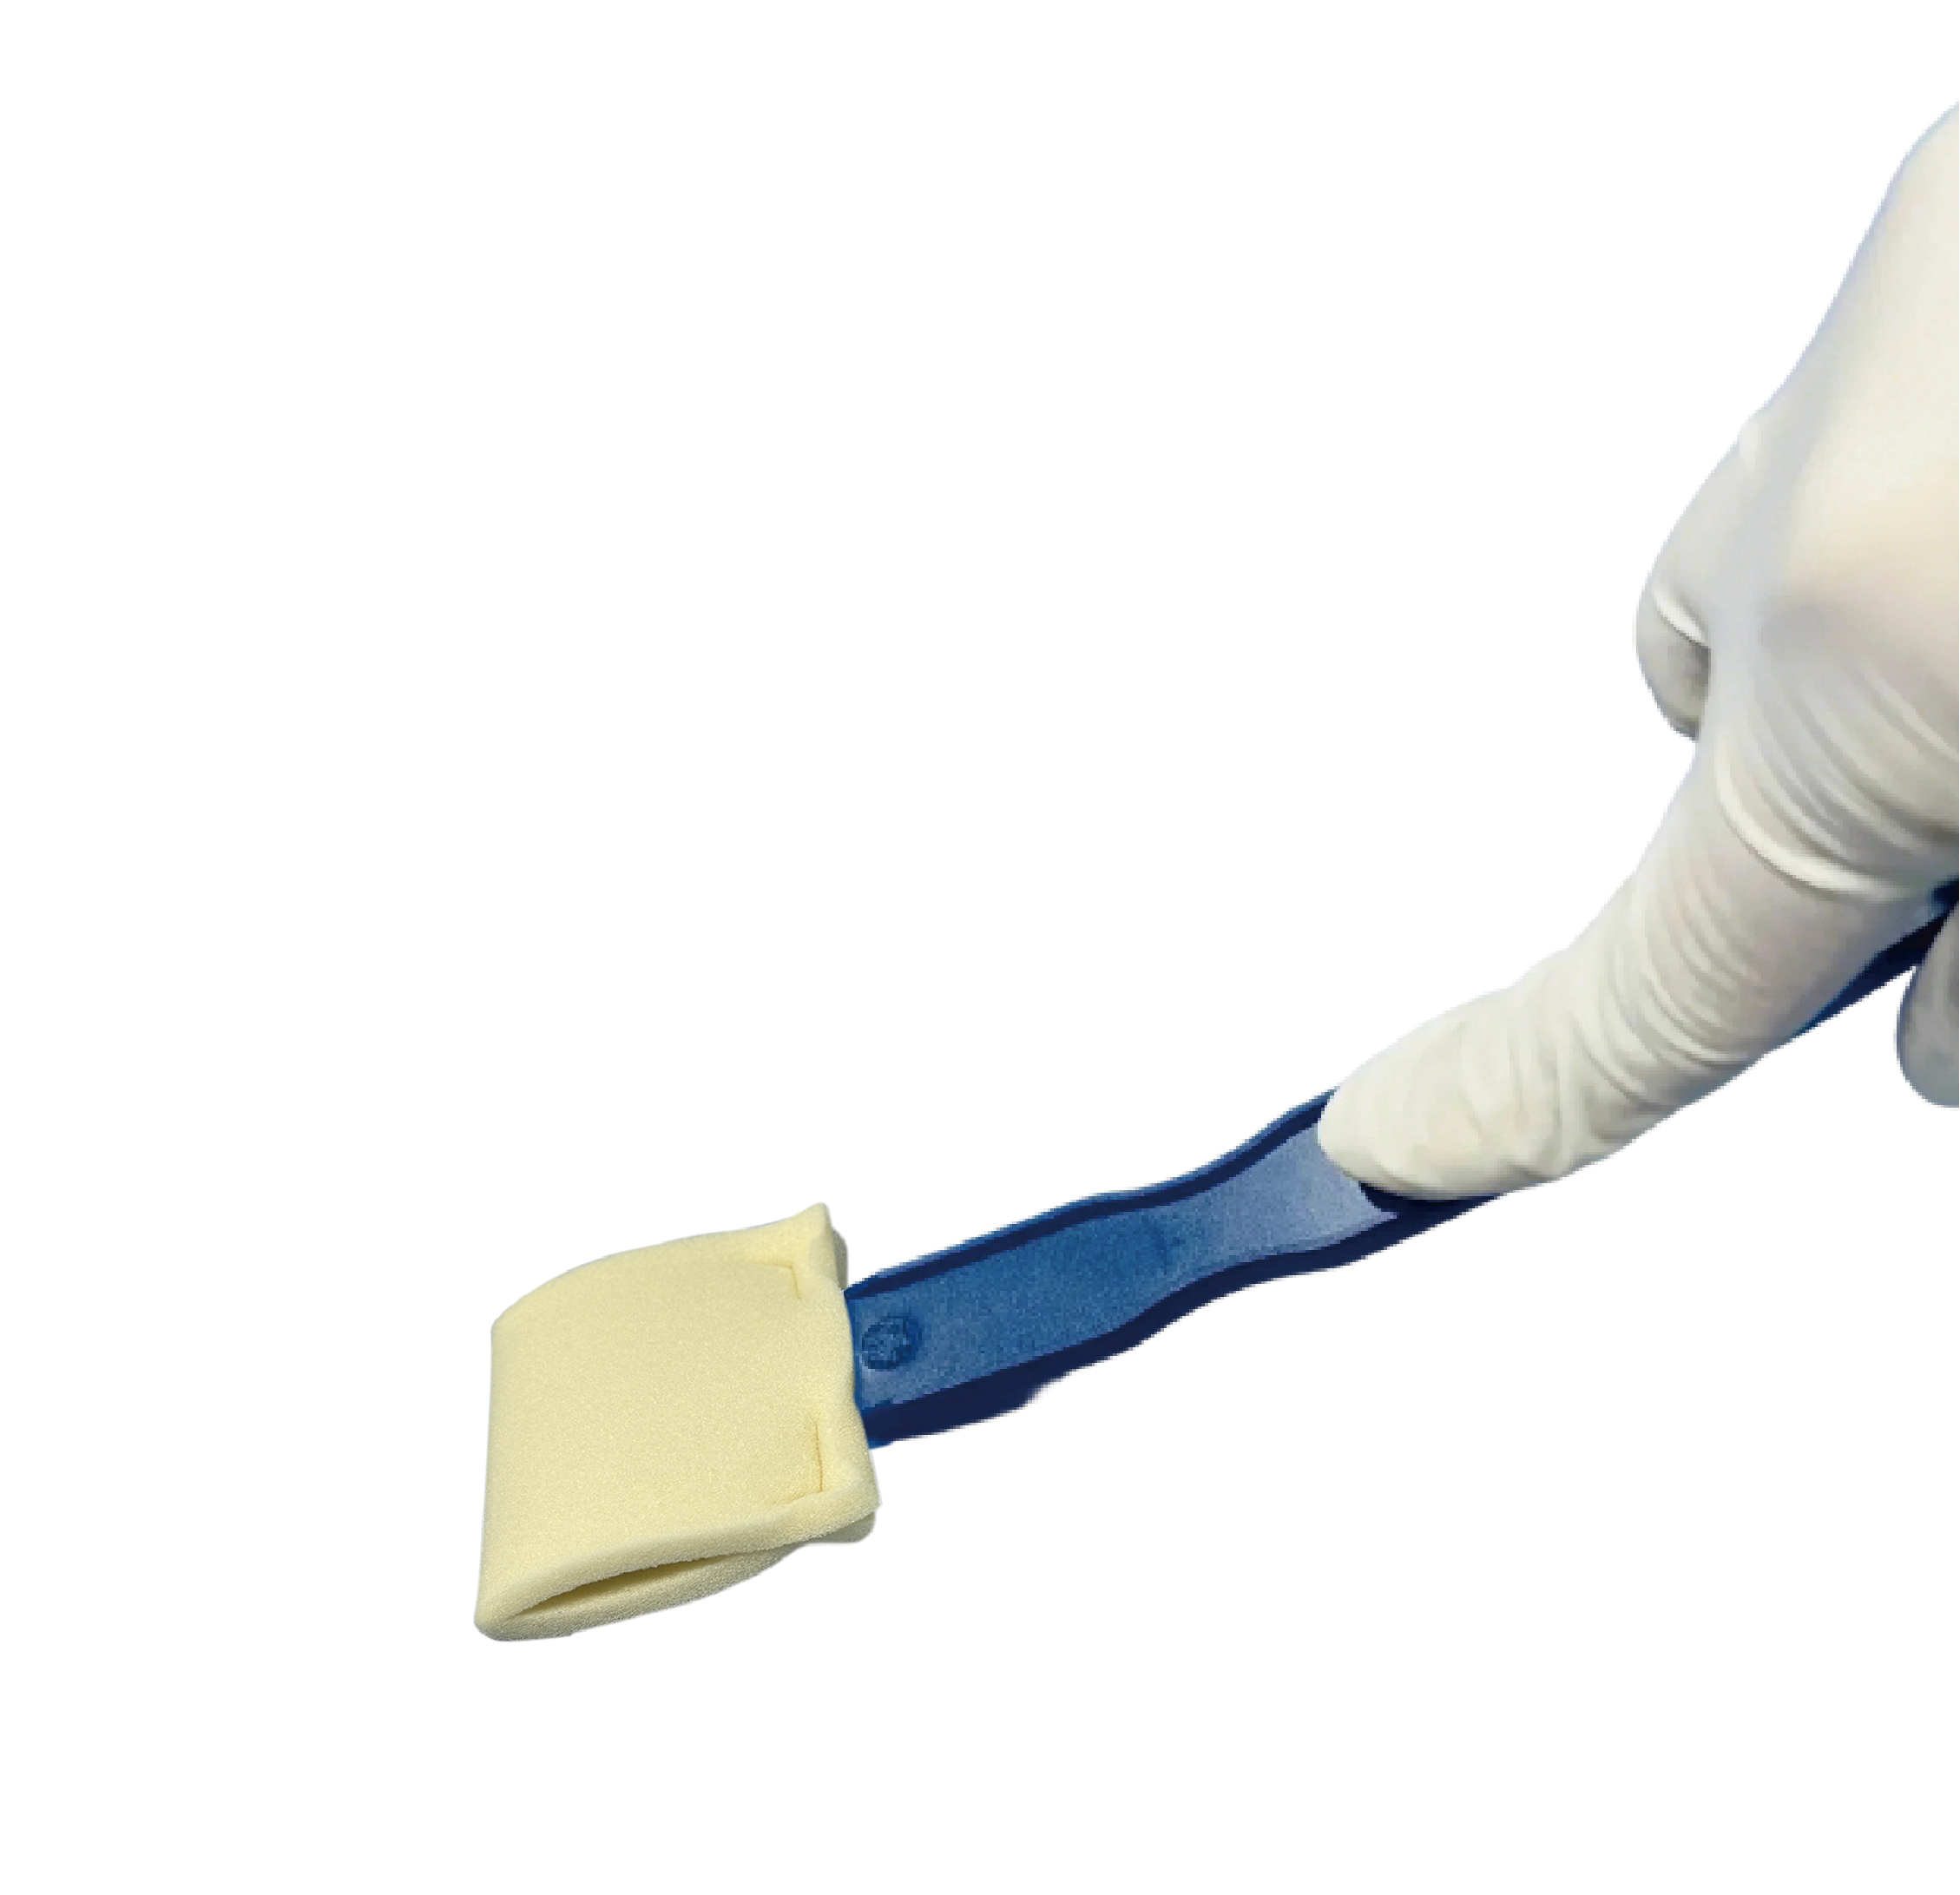
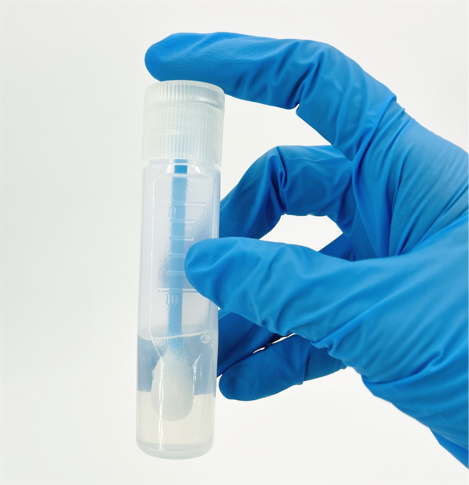
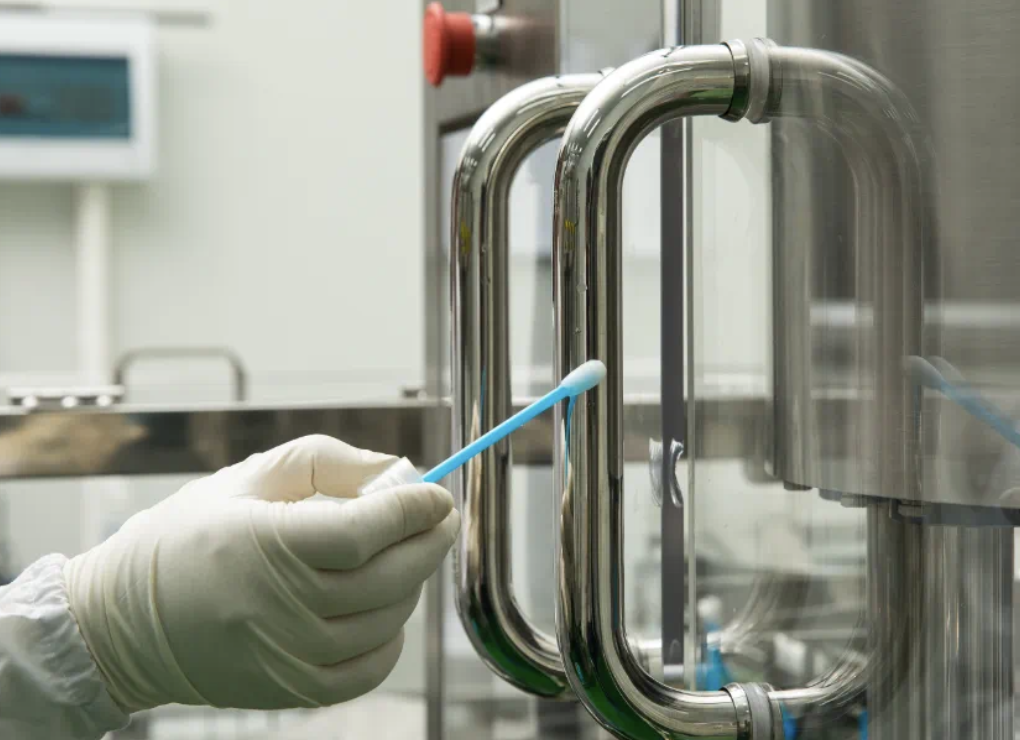
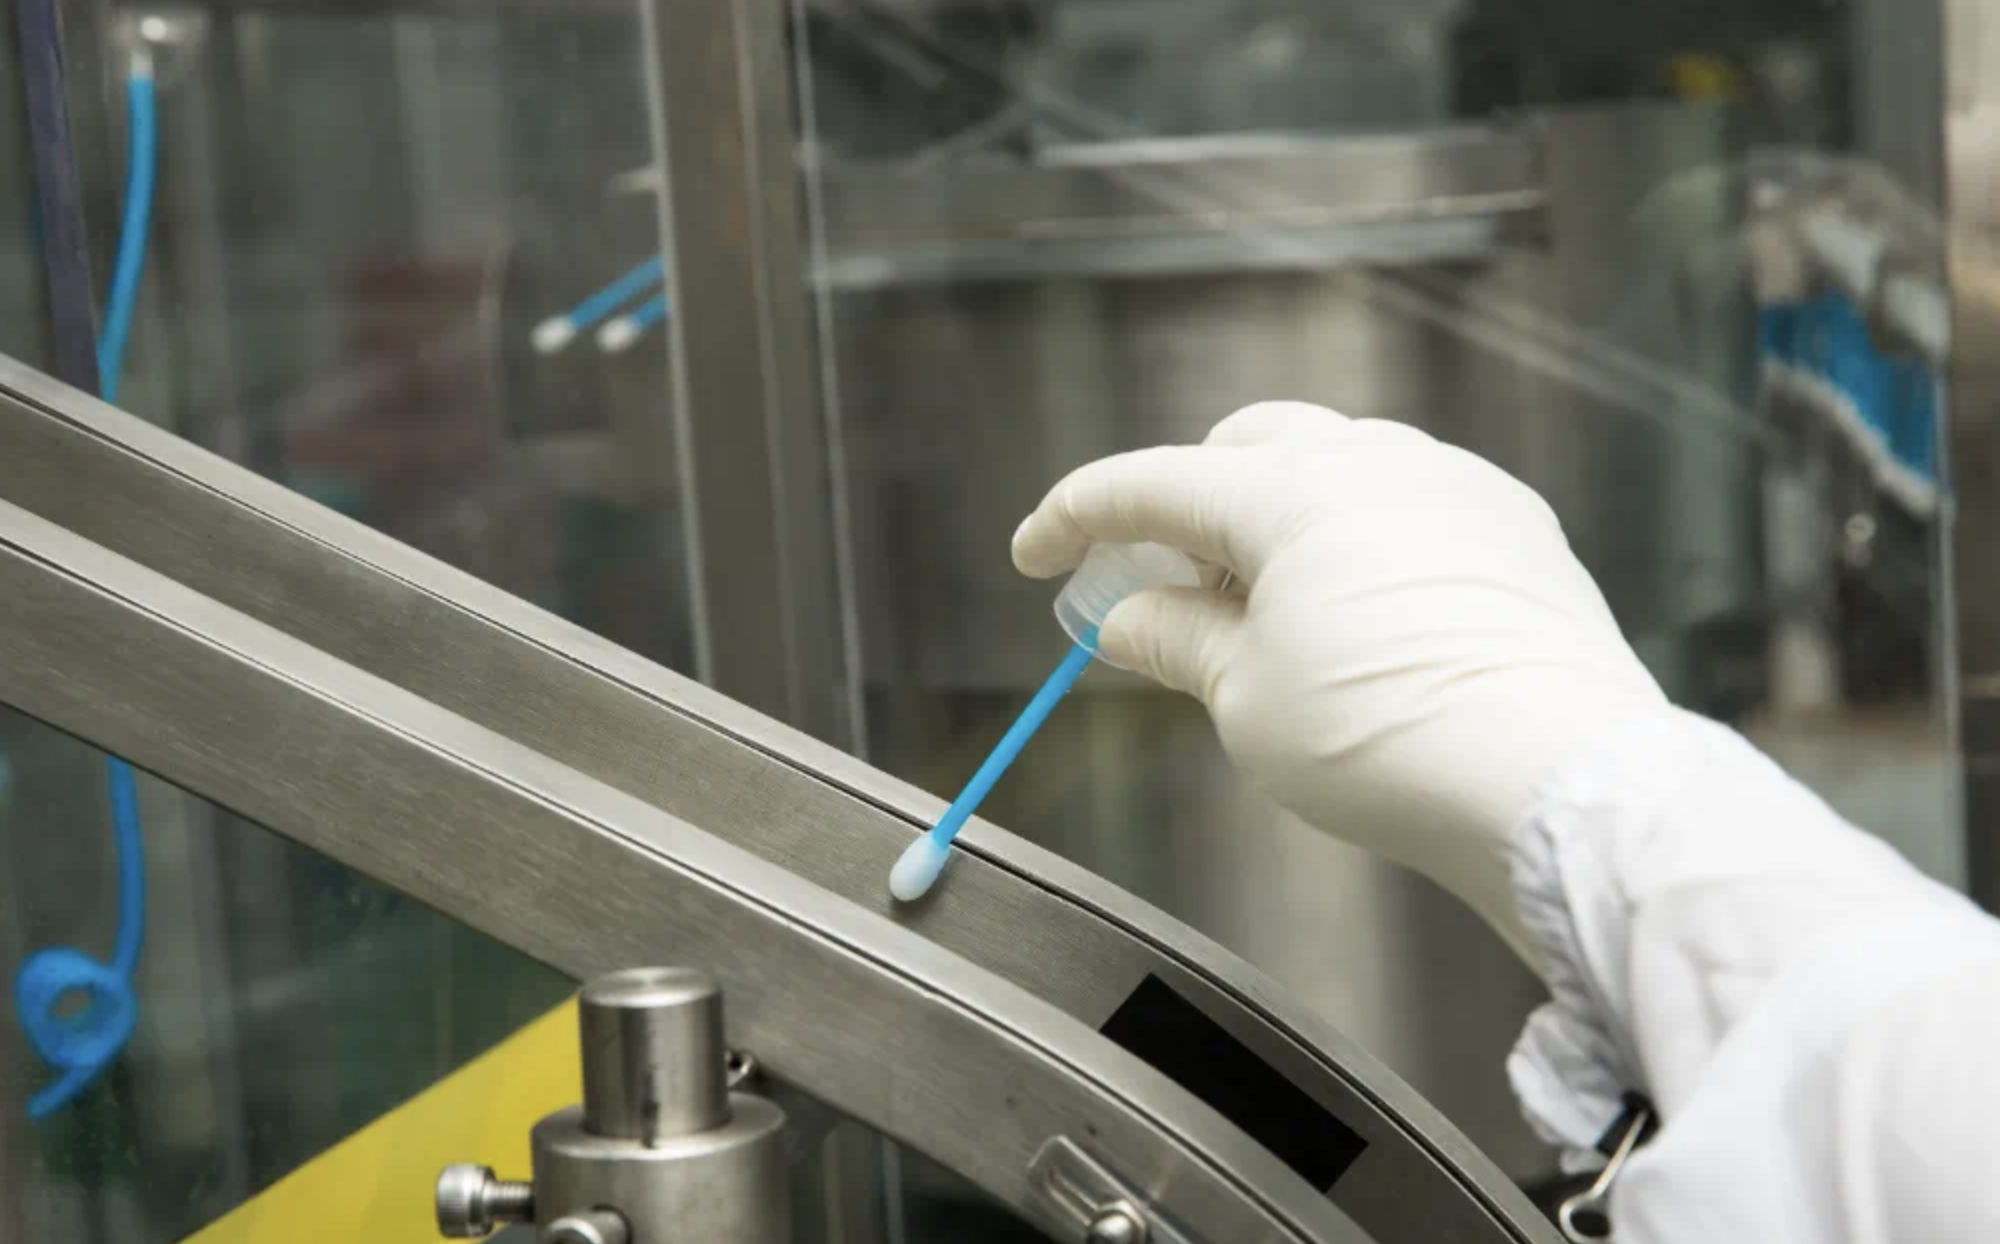
The Pipette Swab is an innovative laboratory consumable that integrates both samplingand pipetting functions, specifically designed for pathogen sample collection. lt isparticularly suitable for environmental monitoring and microbial sampling in industriessuch as food and beverage.
NB (Neutralizing Buffer) is used for sampling the surface of samples treated with disinfectants and does not have a bacterial growth effect.
Benefits:
Precision - Built-in graduations on the pipette allow for accurate and convenient liquid handling.
Efficiency - Preloaded with diluent to simplify workflow and enhance sampling efficiency.
Sterility - lrradiation-sterilized, ready to use straight out of the package for guaranteed aseptic sampling.
Viability - Contains 10 mL of sterile buffer solution to repair bacteria and maintain sample activity.
Portability - Easy to use, reduces manual steps, and lowers overall testing costs.
Versatility - Compatible with petri dishes, test films, and more for rapid quantitative and qualitative microbial analysis.
Product No: CT-NB2510P
Storage & Shelf Life: 2-25°C, valid for 12 months.
Detection method:
1) Wear disposable gloves during the experiment to avoid external contamination.
2) Take out the pipette swab in the box and mark it.
3) Unscrew the bottle cap counterclockwise, squeeze the swab head on the inner wall of the tube 2-3 times to squeeze out the excess liquid and take it out.
4) The sampling area is 10×10cm. When sampling, the swab head is at an angle of 30-45° to the surface to be tested, and smear in a Z shape. For irregular surfaces, try to smear enough areas, and ensure that each test uses a continuous and consistent method.
5) After sampling, insert it back into the tube, tighten the cap, and ensure that the swab head is completely immersed in the solution.
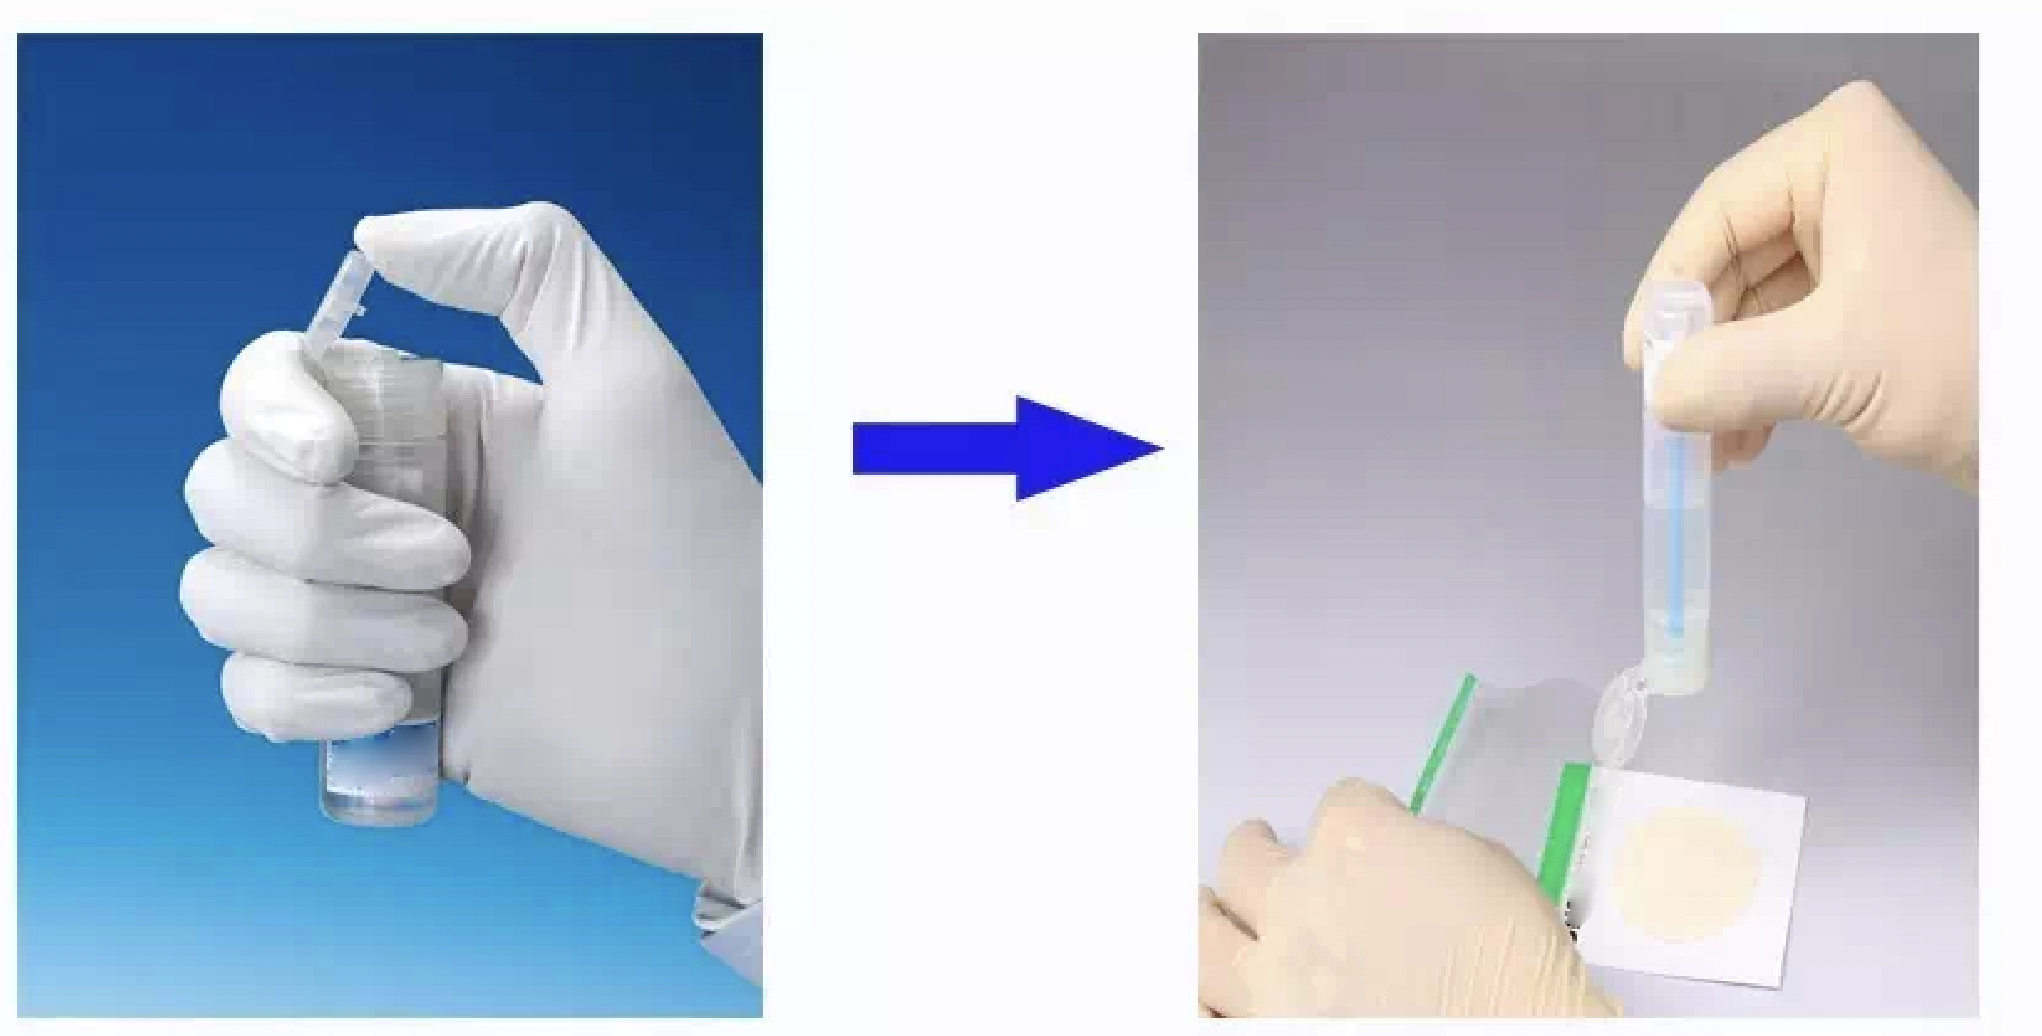
6) Shake the pipette swab to fully release the sample on the swab head into the solution and mix it with the solution.
7) If quantitative pipetting is required, the scale on the pipette swab tube can be used to transfer the solution mixed with the sample to the corresponding container, such as a culture dish, test piece, etc.
8) Place the culture dish or test piece containing the sample under appropriate temperature, humidity and other conditions for cultivation according to the corresponding detection methods and requirements.
9) After a certain period of cultivation, observe the cultivation results and judge and analyze the results according to the characteristics of the colony morphology, color, quantity, etc., and compare with the standard map or instructions.

 +86 532 5826 8660+86 532 5826 8661
 info@yili-bio.com
 F4, Building D9, 1 Jinhui Road, National High-Tech Development Zone, Qingdao, China.